
My friend, Alexandra Jane, was wearing shorts that she made herself and she showed me how to make them!
They're not normal shorts because to put them on you don't step into leg holes...

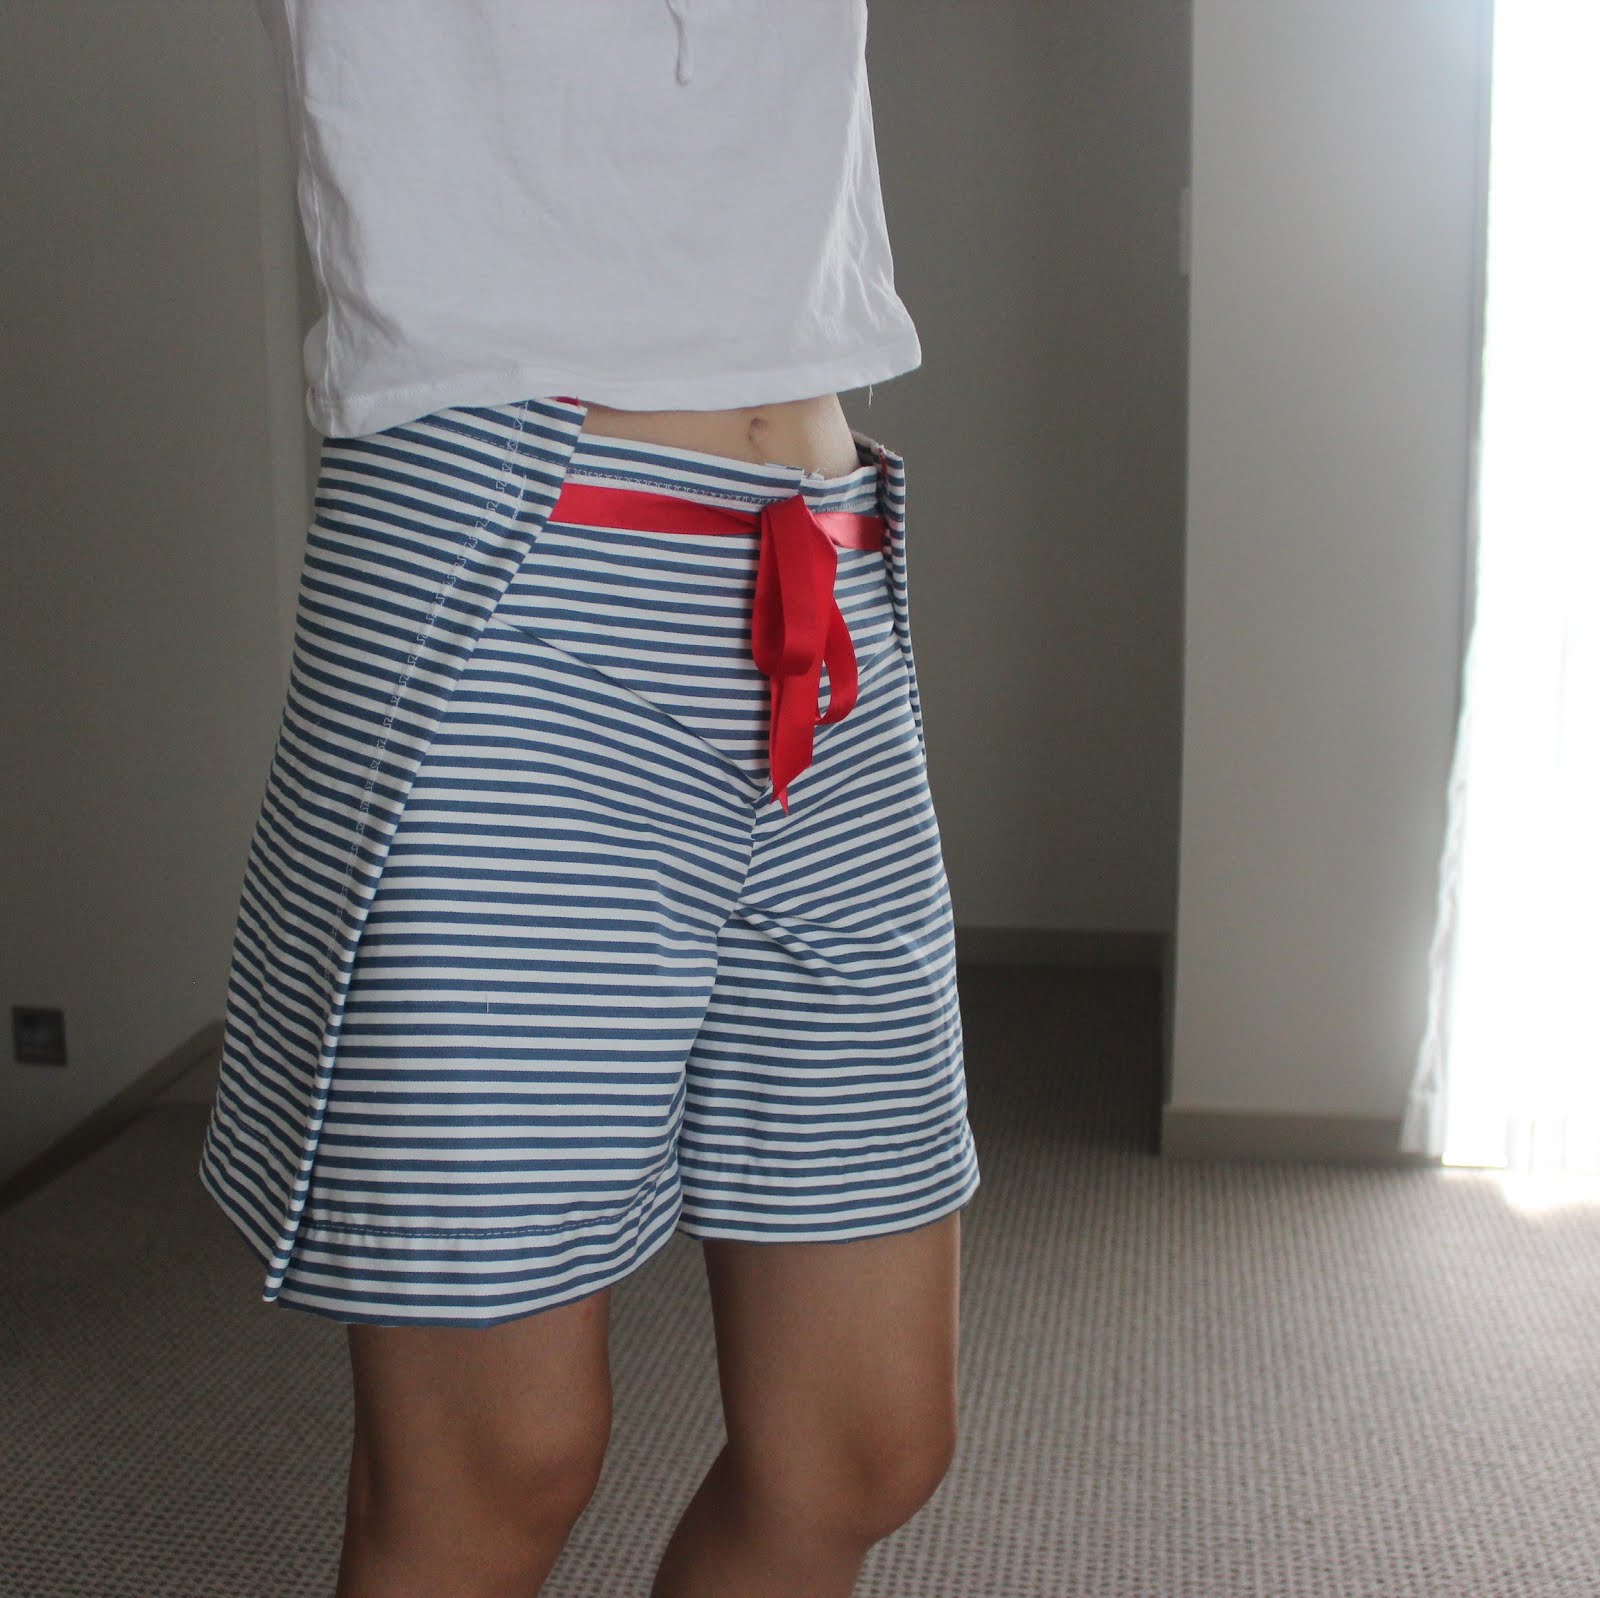
No zips or buttons, they literally wrap around you and tie up at the front.

In one piece...

I'm a beginner to sewing; I've made elastic-waist skirts from skills I learnt in Year 7-8 "soft materials" class and an envelope cushion cover. But all of those are literally sewing 2 pieces of rectangles together. These shorts are more of a logic challenge.
The hard part is figuring out your measurements. I had to cut out a lot off my original pieces because I over-estimated. And figuring out in your head which part to sew first was tricky logic.
So I've put together a 'guide' in case you want to try it yourself!

Note: the shorts I made are not perfect at all, there are a lot of mistakes and dodgy sewing. So the guide below is what I should've done or would do next time. Also my sewing jargon isn't that great...

First, you'll need one metre of fabric that is at least 70 cm wide.

The left panel above is the back of the shorts and right is front. You'll need two pieces of each.
A: This is the back part that goes around your waist/ hips to the front. I measured from the middle of my back to halfway between my belly button and hip and used 12 inches for this measurement. Depends how close together you want the opening to be at the front.
B: This is the underside of the shorts, I guesstimated and ended up cutting off a lot of fabric. In the end, it turned out to be 3.5 to 4 inches. This is the same measurement for both front and back panels.
C: This is the length of the shorts. A good guide is to grab a pair of shorts you already own and use that measurement. Mine was 15 inches for mid length worn at the hips. Use the shorts again to measure D. You can work out E from this.
F: This is the front part that wraps around to the back. Again, depends how close together you want the opening at the back. I used 14 inches for this. So G came to about 18 inches.
Please note the above measurements do not include seam allowances. Use a 2 inch seam allowance.

I sewed the edges of my fabric so they don't fray.
I sewed the two back panels together along the 'L'. Repeat with the two front panels.
Fold and hem up the bottom and top. I sewed the ribbons on the back panels at the same time as hemming.

To attach the front and back panels, sew along side 'D'.
For the back panels I used ribbons to tie up at the front, but for the back I used a short piece of elastic.
My friend had hers buttoned up at the back. But I haven't learnt the button function on my sewing machine yet, so I decided to use a bit of elastic.

And then that's it.
It should look like the above when you've stitched it all together. It's pretty easy because the pieces are symmetrical. And you're only really sewing along the 'L' and down.

I sewed the ribbons lower and not at the top of the fabric. This is so it will tie up over the fabric at the front and not over my bare stomach.

The back wraps around to the front, and if the A and F measurements aren't long enough, then it will split up the side when you sit down and be too revealing.

This is how it looks when I sit down.


I love how nautical this looks with the red ribbon! I got the fabric from Centrepoint fabrics in Newmarket (next to Zarbo) for $10 a metre, I believe.

I think it looks cute with brown leather heels...


Here is my own illustrated guide...


I haven't figured out how to go toilet with these. It'll be like when you're wearing a playsuit and you have to take it off...

Next sewing blogpost will be on the elastic-waist skirts that I mentioned earlier. If you're a beginner to sewing, the skirt will be perfect because it is super easy!
Signed,
Elisa.
No comments:
Post a Comment
what are your thoughts on this post?